Online Photography School
How To Blur The Background In Photoshop
The ability to sharpen an image after you’ve taken it is a saving grace. Sometimes a shallow depth of field or a wrongly chosen autofocus point can mean that key details in an image are soft. Using the Unsharp Mask filter in Photoshop can bring back these lost details, and prevent an otherwise great photograph from being destined for the recycle bin.
However, you can also have the opposite problem, where parts of a photo are too sharp! If you’ve used a narrow aperture or two subjects are particularly close together, you can have too much of your image in focus.
The trick here is to apply the Gaussian Blur filter to the overly-sharp areas, to throw them out of focus.
Finding the right balance between sharp and blurred areas can be tricky, but by using layer masks you can precisely control which areas each effect is applied to. Layer masks also have the advantage of being non-destructive, so if you make a mistake, it’s a simple matter to correct it.
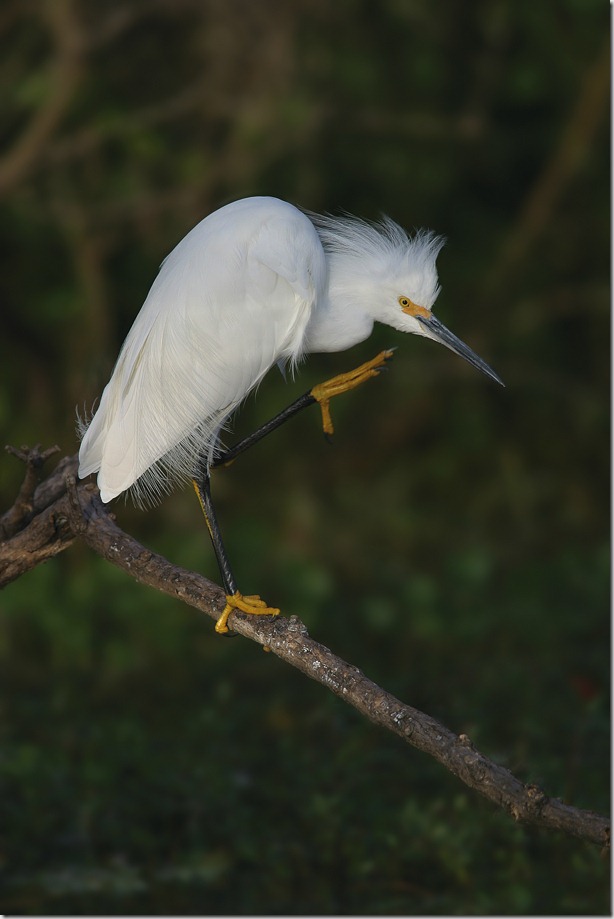
In this Photoshop tutorial, we’ll show you how to blur the background in Photoshop and sharpen detail in your foreground interest. Here we’re going to apply two layer masks to our snowy egret image: one to sharpen the fine feather details and one to blur out the background.
To create a more natural transition between the two adjustments, we’re going to fine-tune the layer masks using the Brush tool with a soft-edged tip; this will not only ensure that the right areas are sharp and blurred, but it will make it harder to tell that the image has been edited.
All you’ll need for this Photoshop tutorial is Photoshop Elements 6 or above and just 10 minutes of your time. Let’s get started!
How to blur the background in Photoshop Elements
Step 1: Apply sharpening
Open your start image. Duplicate the Background layer by pressing Ctrl+J, then click the Add Layer Mask button in the Layers palette (for Elements 8 or earlier add a Levels adjustment layer below ‘Layer 1’, then click on the ‘Layer 1’ and go to Layer > Create Clipping Mask).
Click back on to the image thumbnail of ‘Layer 1’, then go to Enhance > Unsharp Mask. Set Amount to 85% and the Radius to 1 pixel.
Step 2: Tidy it up
The bird has a lot more detail, but the background has been sharpened too. Click the layer mask for ‘Layer 1’, then select the Brush tool.
Choose a soft-edged Brush, set the Size to 200 pixels and change the Opacity to 100%.
Make sure that the foreground colour is set to black, then brush over the background. For more detailed areas, zoom in to 100% and change the brush size to 15 pixels, then continue brushing.
Step 3: Apply the blur
Press Ctrl+J to duplicate ‘Layer 1’ and its mask (in Elements 8 or earlier duplicate the layer, then add a mask to it as before). Click on the new layer mask and press Ctrl+I to invert it.
Select the image thumbnail again and go to Filter > Blur > Gaussian Blur. Set Radius to 12.5 pixels and click OK.
Any areas that are white on the layer mask will have the blur applied, and any areas that are black will still be sharp.
Step 4: Tweak the mask
When you apply a high level of blur to an image, it’s likely that this will bleed into the subject of your photograph.
To remove this blur from the edges of the bird, reselect the Brush tool, set the Size to 50 pixels and the colour to black.
Zoom into the image, then carefully brush the blur out of the feathers and branch in the foreground. If you make a mistake, press X to switch to a white brush, and paint the blur back in.


0 comments:
Post a Comment